Merging our branch
With all of those changes working, we want to bring them into our main branch.
To do this, go to your repository on GitHub.
When you get there, near the top, you should see a big button to Compare & pull request for your branch.

Clicking on that will bring you to a new screen where you can open a new pull request.
On a solo project, the details here aren't super important, but if you're working in a team, someone else will be reviewing the request, so it could be a good habit to leave detailed notes here.

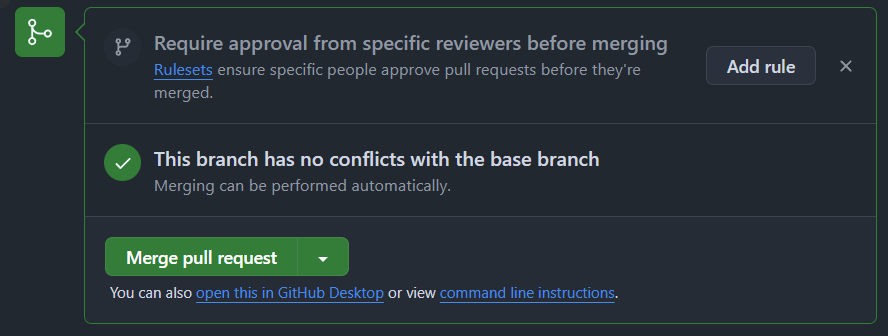
Once you hit the button to open the pull request, you'll be brought to a new screen where it will do some checks to make sure there are no conflicts with the main branch.

Once those checks are done, you can hit the big Merge pull request button.
You will have to confirm that, and then it will merge.
At this point, you'll have the option to delete the branch (which you can safely do, you can always restore it later if required).

When you delete it from GitHub, you should also delete it locally as well.
To do that, you will first have to go back to your main branch in VS Code.
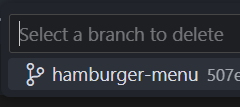
From there, you can select delete branch from the menu, or use ctrl + shift + p / cmd + shift + p and write git: delete branch.
This will allow you to select the branch and delete it.

Netlify will see the changes
Netlify detects any changes to your GitHub repo, and will automatically update the site.
So, with those changes pushed to the main branch, if you go back to the live version of your site, you should see them reflected there.
If it doesn't happen immediately, you may have to wait a little bit and refresh the page, but it should be fast with a static site like this one.
Netlify also builds deploy previews of branches, so you can see a live version of a branch as well!